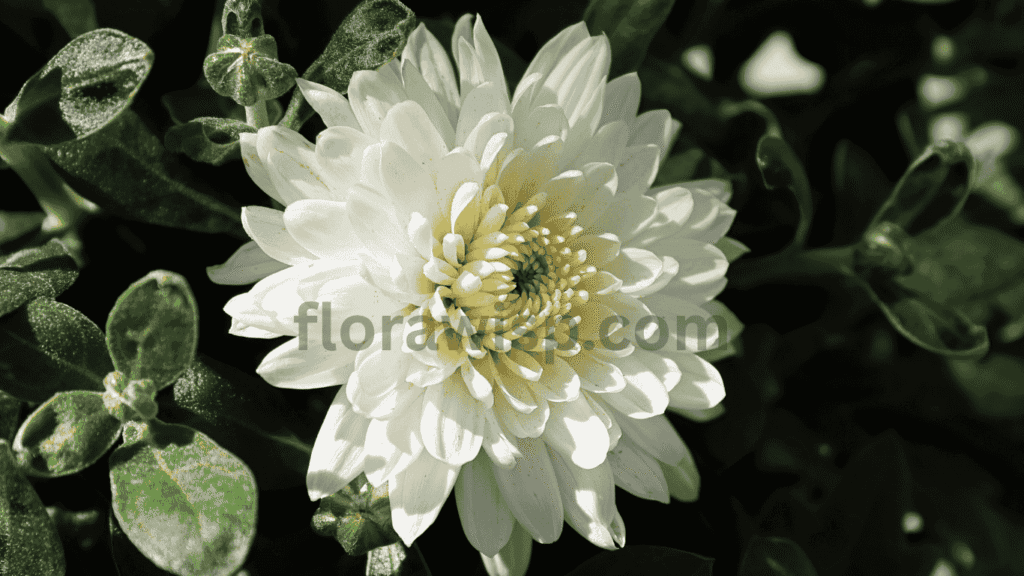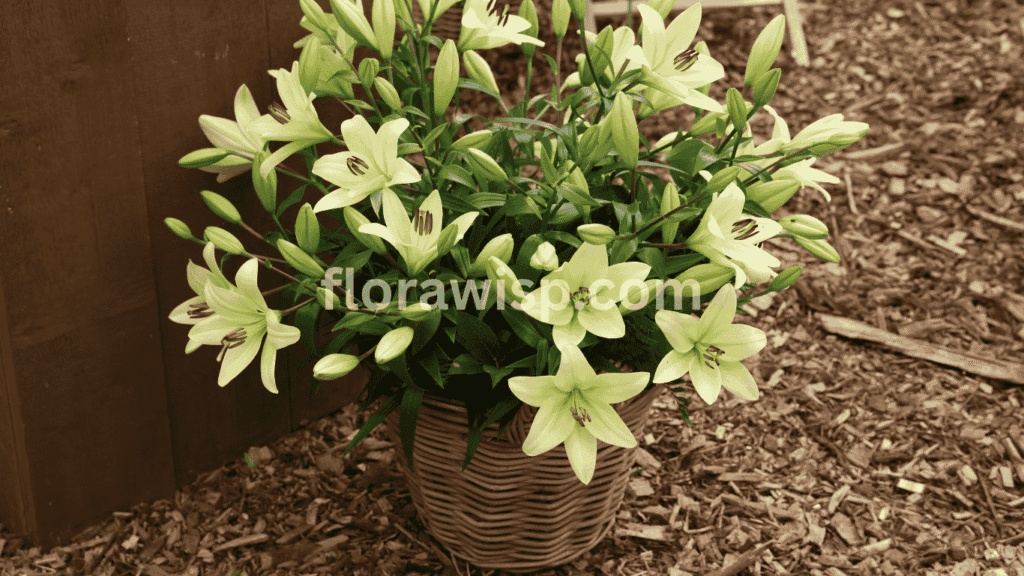
Lilies in a pot can be just as stunning as garden-planted varieties if you give them the right start. The key lies in selecting the right pot, preparing nutrient-rich soil, and understanding the specific light and water needs of each lily variety. I’ve found that deep, well-draining containers (at least 10–12 inches) help support the root structure and prevent rot, especially when working with Oriental and Asiatic lilies.
Start by choosing large, healthy Lily bulbs and space them evenly no more than 3 per pot to avoid crowding. Use a loose, loamy soil mix rich in organic matter, and always position the bulbs with the pointed tips up, about 4–6 inches deep. Place the pot where it receives 6 hours of morning sun but is shielded from intense afternoon heat.
Water regularly but let the top inch dry out between waterings to prevent sogginess. I always rotate the pots weekly to ensure upright growth and stake tall varieties early to prevent leaning. Once flowering ends, don’t cut the foliage immediately, let it yellow and die back naturally to feed next year’s blooms.
With the right routine and seasonal adjustments, growing lilies varieties like white lilies, calla lilies and others in pots offers not only flexibility but a long-lasting, spectacular display that thrives year after year.
In This Article
Top Lily Varieties to Grow in Pots
Not all lilies thrive the same way in containers, but with the right choices and care, lilies in a pot can become the highlight of your patio, porch, or balcony. Over the past 10 years of growing lilies across USDA Zones 7–9, I’ve tested dozens of varieties, and a few stand out not only for their adaptability but for their charm, fragrance, and bloom reliability.
1. Calla Lily (Zantedeschia spp.)
With its elegant, trumpet-shaped flowers and upright foliage, it’s a showstopper for patios. Callas love rich, well-draining soil and partial sun, making them perfect for morning-lit spots. In my Texas garden, they last well into late summer with minimal fuss. If you’re designing around bold focal plants, the Calla Lily offers structure and style that’s hard to beat.
2. Peace Lily (Spathiphyllum wallisii)
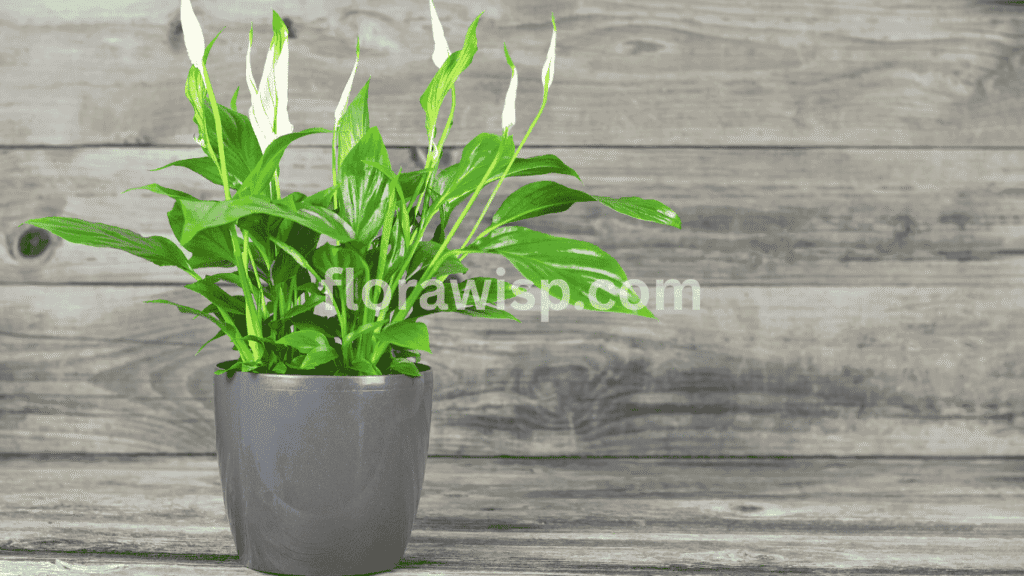
peace lily flower (Spathiphyllum) Although not a true lily, it offers glossy green leaves and long-lasting white blooms that do wonders in indoor and shaded patio corners. I often keep one near my front porch low light, high reward.
3. Canna Lily (Canna indica)
For bold foliage and fiery flowers, Canna Lily is a top pick. These thrive in full sun, especially in southern states. Make sure the container is at least 12 inches deep to support their vigorous roots.
4. Lily of the Valley (Convallaria majalis)
If you love fragrance, this variety does wonderfully in cooler zones like 5–7. Its dainty, bell-shaped blooms fill the air with sweetness in spring, and it grows well in part shade. For full planting and care tips, explore our detailed guide to growing and maintaining Lily of the Valley in home gardens.
5. Flax Lily (Dianella caerulea)
One underrated gem, ideal for textural contrast. While not a traditional lily, its grass-like form and small violet flowers complement other blooms perfectly.
These varieties make growing lilies in a pot both beautiful and practical, offering flexibility, visual appeal, and in many cases, delightful fragrance. The key is to match the variety with your regional climate and sunlight exposure for a thriving display year after year.
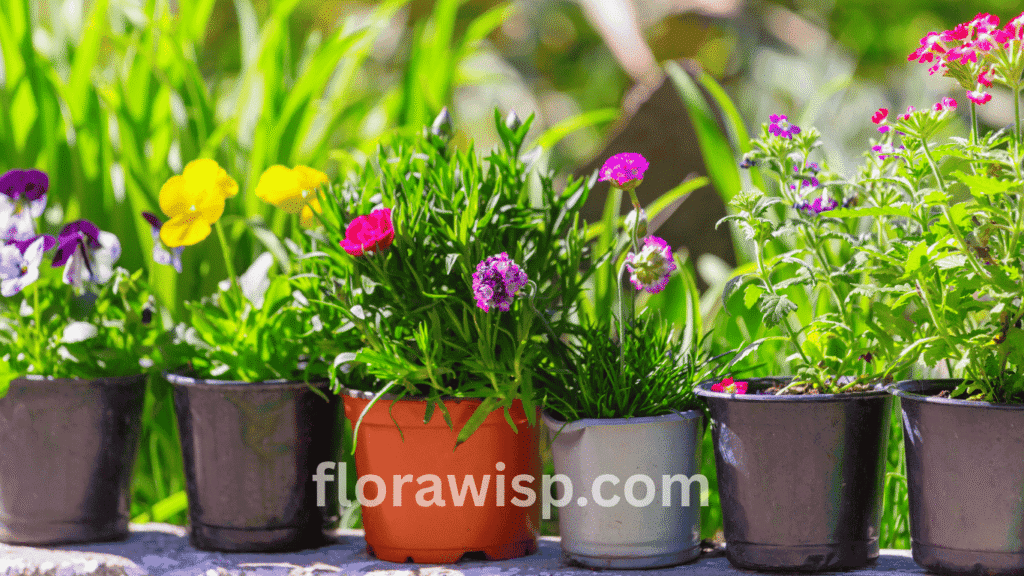
Choosing the Right Pot for Growing Lilies in a Pot
When it comes to growing lilies in a pot, the container you choose sets the tone for your plant’s health, longevity, and bloom performance. Over my years of gardening, I’ve tested dozens of pot types across multiple lily varieties from peace lilies on the patio to vibrant canna lilies in outdoor containers.
Match the Pot to the Lily Type
Each lily has its own potting preference. For example, peace lilies thrive best in pots that are both deep and breathable. Based on my trials, the best pot for a peace lily is at least 10 inches deep with multiple drainage holes to prevent soggy roots. A good peace lily pot size gives the roots enough space to grow without becoming rootbound, which helps the plant maintain its lush green leaves and signature white blooms.
If you’re working with larger species like canna lilies, I recommend choosing a canna lily pot that is wide and deep, at least 14–16 inches in diameter. These lilies are heavy feeders and drinkers, so they benefit from extra root space and better moisture retention.
Choosing the Right Container for Water Lilies
Now, water lilies are a whole different story. These aquatic beauties flourish in shallow, wide containers that hold both soil and water. I usually opt for wide clay or resin pots without drainage holes when setting up my water lily pot. This helps maintain the correct water level and keeps the aquatic soil in place.
Don’t Ignore the Pot’s Aesthetics
For indoor gardeners or balcony growers, functionality should go hand in hand with appearance. I’ve used glazed ceramic pots with peace lilies in my living room to match my décor, but always made sure the pot had adequate drainage. Decorative containers may be beautiful, but make sure they don’t compromise the lily’s root health.
Pot Material: Terracotta, Ceramic, or Plastic?
Through experience, I’ve found that terracotta pots work well for lilies in humid areas because they wick away excess moisture. However, in drier zones, I prefer ceramic or high-quality plastic pots to retain moisture and reduce watering frequency.
Your pot isn’t just a vessel, it’s the foundation of your lilies in a pot journey. Choosing wisely gives your plant the structure, space, and conditions it needs to thrive.
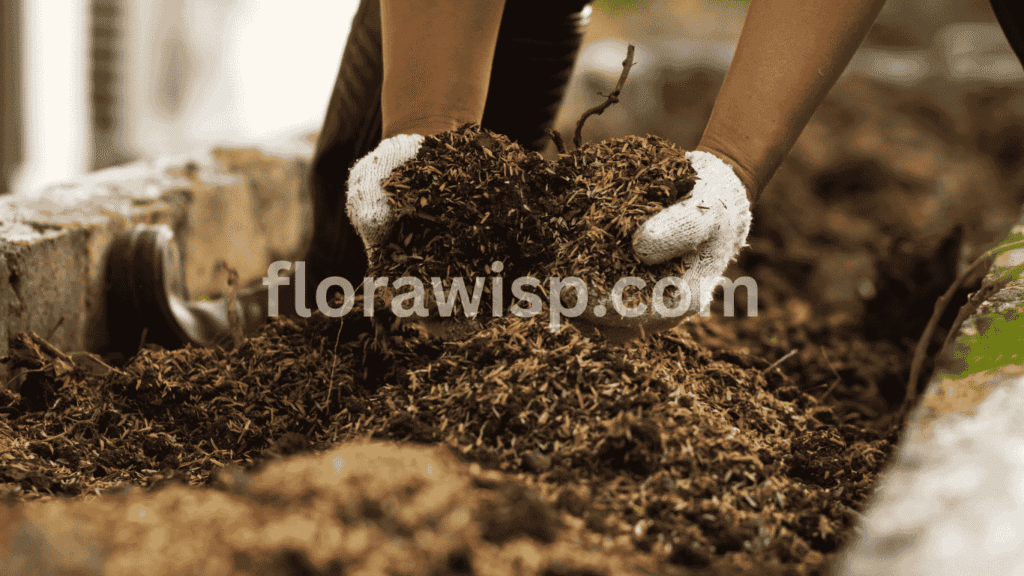
The Perfect Potting Mix for Lilies in a Pot
One of the first lessons I learned when I started container gardening was this: the soil makes or breaks your lilies. If you want to grow healthy lilies in a pot, you need more than just dirt, you need a soil strategy.
Understanding the Basics of Potting Soil for Lilies
Let’s start with peace lilies, a favorite among indoor growers. The best potting soil for peace lily is light, well-draining, and full of organic nutrients. My go-to blend is a mix of 40% peat moss, 30% perlite, and 30% compost or worm castings. This balance keeps the roots both nourished and aerated.
If you’re new to DIY soil blends, a high-quality peace lily potting mix from a reputable brand can also do the job just check the label for excessive synthetic fertilizers. I tend to avoid those, especially for indoor plants, because they can lead to salt buildup and long-term root damage.
Tailoring the Mix for Other Lily Varieties
For more moisture-loving lilies like callas and cannas, I increase the compost ratio slightly. These varieties bloom best when the soil holds moisture but still drains well. Adding a touch of coconut coir or aged bark mulch can help improve texture and moisture regulation.
Check the Soil pH and Moisture Retention
Soil pH matters more than many think. I always aim for a pH of 6.0 to 6.5 when growing lilies in a pot, especially peace lilies. This range supports optimal nutrient uptake and minimizes common issues like yellowing leaves or poor flowering.
Depending on whether your lilies are indoors or outdoors, you may also need to tweak watering schedules. For indoor peace lilies, the right potting soil for peace lilies retains enough moisture between waterings without becoming soggy. Outdoors, I’ve found that adding more perlite helps deal with heavier rainfall or humid environments.
Invest in the Soil, Reap the Blooms
A great potting mix isn’t an expense, it’s an investment in stronger roots, vibrant leaves, and long-lasting blooms. Over time, the right soil composition has allowed my potted lilies to flourish year after year with minimal issues. It’s one of those behind-the-scenes elements that separates average growth from garden showstoppers.
How to Plant Lilies in Containers (Step-by-Step Guide)
Planting lilies in a pot is one of the most rewarding ways to grow these graceful blooms especially if you’re working with limited space or want to decorate a patio or balcony. Over the years, I’ve experimented with different containers, and nothing beats the satisfaction of seeing vibrant blooms rise from a carefully prepared pot.
1. Choose the Right Pot
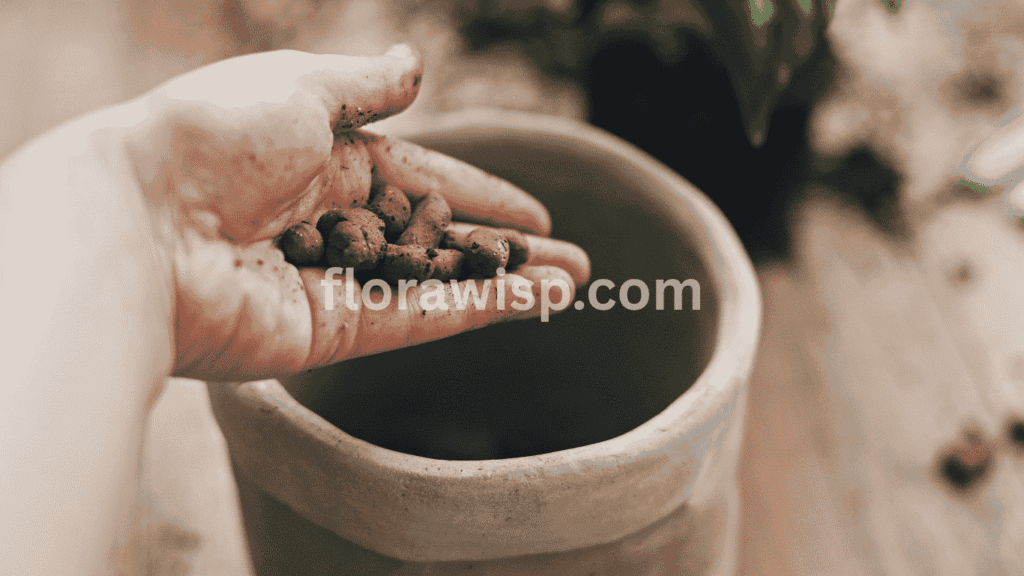
Start with a container that’s at least 12 inches deep and wide. Drainage is crucial. I always ensure the pot has several holes at the bottom. Clay or terracotta pots are my personal favorite because they allow for better air circulation and prevent root rot. If you’re using decorative outer pots, be sure the inner one drains well.
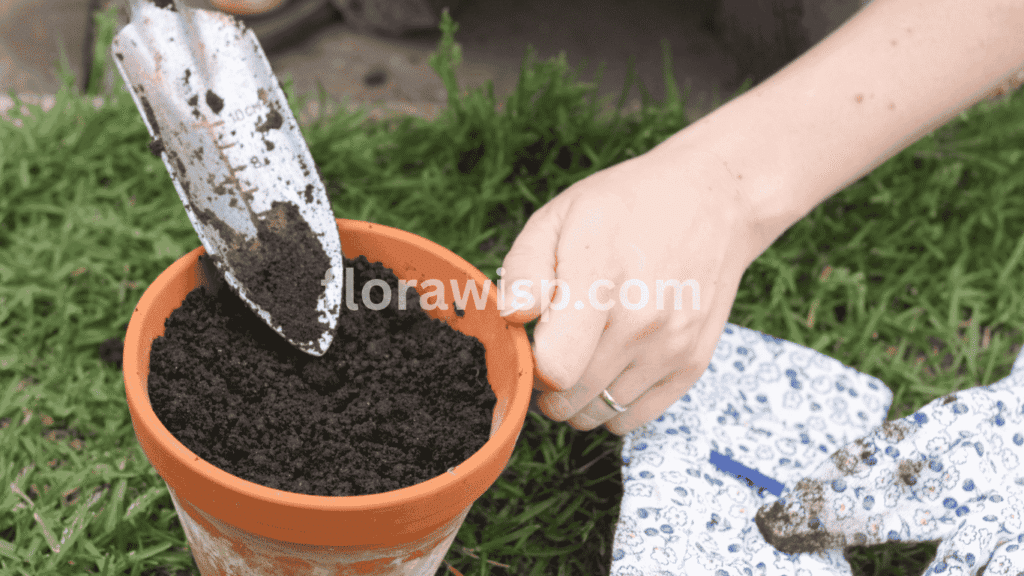
2. Add Quality Potting Mix
Fill the pot with a well-draining mix preferably a blend designed for bulbs or flowering plants. I leave about 2–3 inches from the rim to avoid spillage when watering. A mixture enriched with perlite or sand helps ensure your lilies in a pot don’t suffer from waterlogging.
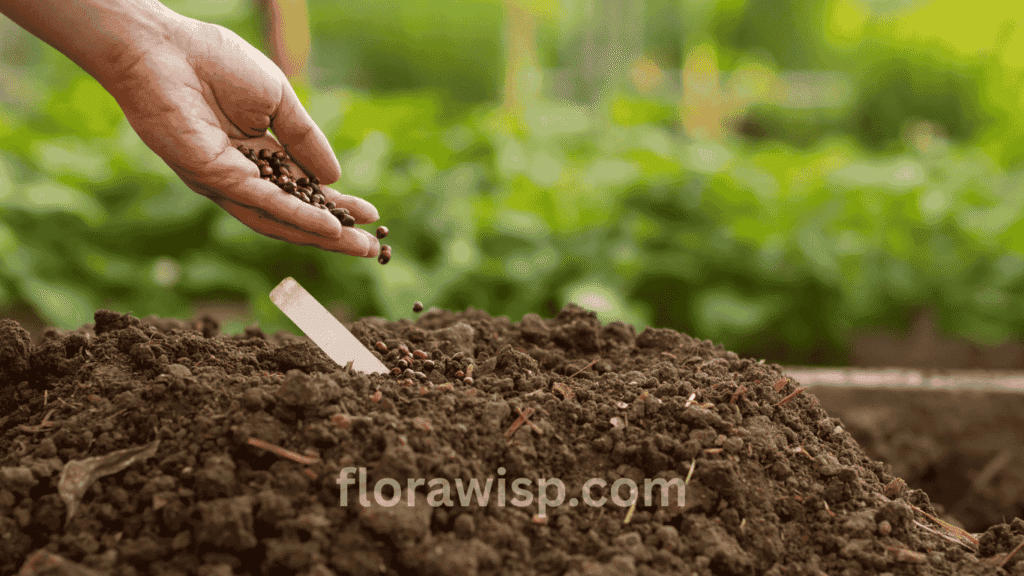
3. Plant the Lily Bulbs Properly
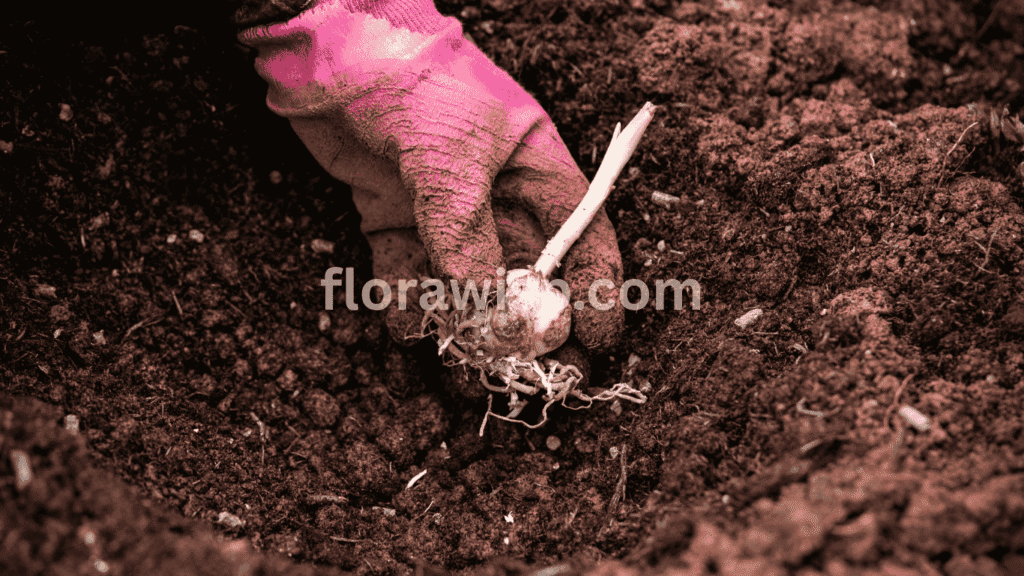
Set each bulb with the pointed tip facing upward. I plant them about 4 inches deep and space them out evenly, usually 2–3 bulbs per 12-inch pot. Don’t overcrowd them, as it restricts airflow and increases disease risk. If you’re planting rhizomatous lilies, lay them horizontally and cover lightly with soil.
4. Firm and Water
Backfill with potting mix, pressing gently around each bulb. Once planted, water thoroughly until water starts to drain out the bottom. I never skip this step; it settles the soil and ensures bulbs make solid contact.
5. Best Planting Time
I recommend planting lilies in early spring for most USDA zones. However, if you’re in a warmer climate like zones 8–10, fall planting works beautifully and often rewards you with earlier blooms. I’ve had excellent results planting in March in Zone 7b.
With consistent care, your growing lilies in containers will bloom reliably and bring color to any space.
Watering Lilies in a Pots Without Overdoing It
When it comes to watering lilies in a pot, balance is everything. I’ve seen many beginners (and even myself, once!) love their lilies a little too much with disastrous consequences like root rot.
The 2-Inch Rule
Before watering, I always check the top 2 inches of soil. If it’s dry to the touch, it’s time to water. This method prevents overwatering and supports healthy root development. Remember: lilies hate soggy roots.
Tailor Your Watering to the Plant Type
Different lilies need different care. For example:
- Peace lily plant in pot: If kept indoors, I water it every 7–10 days, especially in air-conditioned spaces.
- Outdoor lilies in pots: During hot summers, I water every 3–4 days. But always check the soil first.
- Water lily pots: These require consistent water coverage. I keep the crown submerged and regularly clean the water to avoid algae buildup.
Use the Right Pot and Empty the Saucer
Always use pots with drainage holes. I’ve made the mistake of leaving water in saucers leading to soggy soil and unhappy plants. Empty the saucer within 30 minutes of watering.
Maintaining the right moisture balance has helped my lilies in pots thrive for years. With this approach, you’ll enjoy robust growth and beautiful blooms without risking root disease.
Light, Temperature & Placement: Thriving Lilies in a Pot
After two decades of trial and observation, I’ve learned that understanding light and temperature is what separates thriving lilies in a pot from struggling ones. Not all lilies are created equal and your placement strategy can make or break your container garden.
Get the Light Right
For peace lily lovers, light must be filtered. I always place my peace lily in a pot near an east-facing window indoors. Bright, indirect morning sunlight keeps the foliage lush and green without risking sun scorch. On the other hand, canna lilies in pots are true sun worshippers. They crave at least 6–8 hours of direct sunlight daily to push out bold, tropical blooms.
I’ve even experimented with water lily pots in patio ponds. These require full sun to fuel their floating blooms, and placing them in a spot with uninterrupted morning and mid-day light works best.
Whether you’re growing peace lily potted plants indoors or tending outdoor varieties, consider how light moves across your space during the day. Rotate pots every few weeks to promote even growth.
Maintain Ideal Temperatures
Most lilies in a pot flourish in daytime temperatures between 60°F and 80°F. Once temps dip below 50°F, their growth slows noticeably. I lost several canna lilies one year by delaying their move indoors during a surprise frost. Now, I bring my tropical containers inside when nights consistently drop below 55°F.
If you’re keeping pots outdoors, consider placing them on plant caddies or slightly elevated bricks. This protects root zones from absorbing excessive patio heat and helps with drainage especially vital during summer downpours.
Strategic Placement Matters
When growing lilies in a pot outdoors, I often position them where they receive morning sun and afternoon shade especially in USDA Zones 7–9, where summers can be intense. Indoors, I avoid placing peace lilies too close to heating vents or air conditioners, as fluctuations stress the plant.
Good airflow is also key. Whether it’s a balcony railing or a garden shelf, I make sure there’s some space around each pot to prevent mildew and improve overall plant health.
Seasonal Lily Care: A Year-Round Plan for Potted Beauty
Caring for lilies in a pot is an ongoing relationship that shifts with the seasons. From bloom to dormancy, your attention will shape how well they return next year.
Feed, Prune & Celebrate
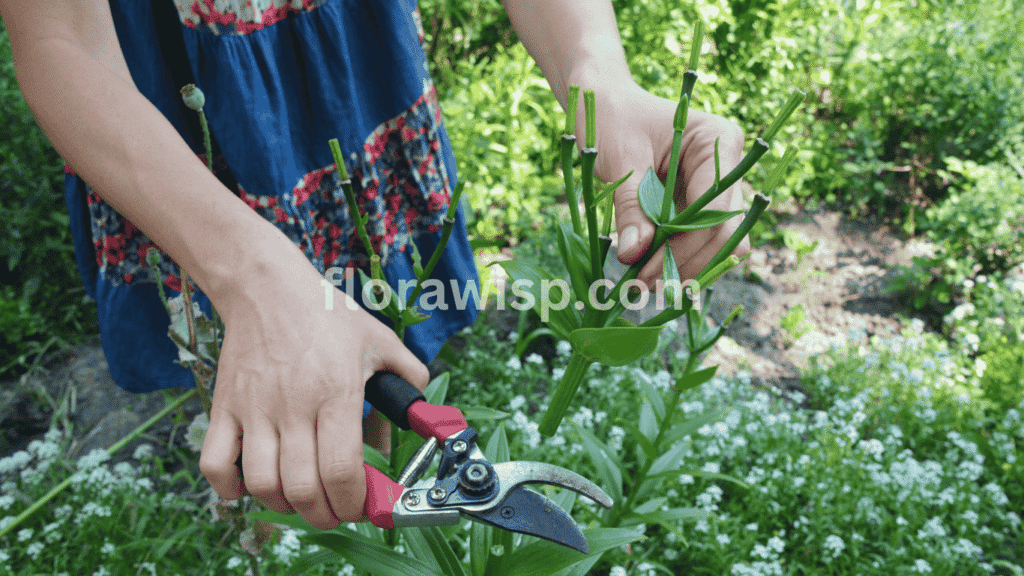
Once spring kicks in, my lilies respond quickly to warmth and water. I feed them every 4–6 weeks with a balanced, diluted liquid fertilizer. Too much nitrogen can delay blooms. For varieties like calla lilies in pots, I’ve found that feeding just before bud formation leads to stronger, more vibrant flowers.
I also deadhead regularly. Removing spent blooms on growing calla lilies in containers encourages new ones to appear and prevents energy waste. It also keeps your containers looking tidy and lush.
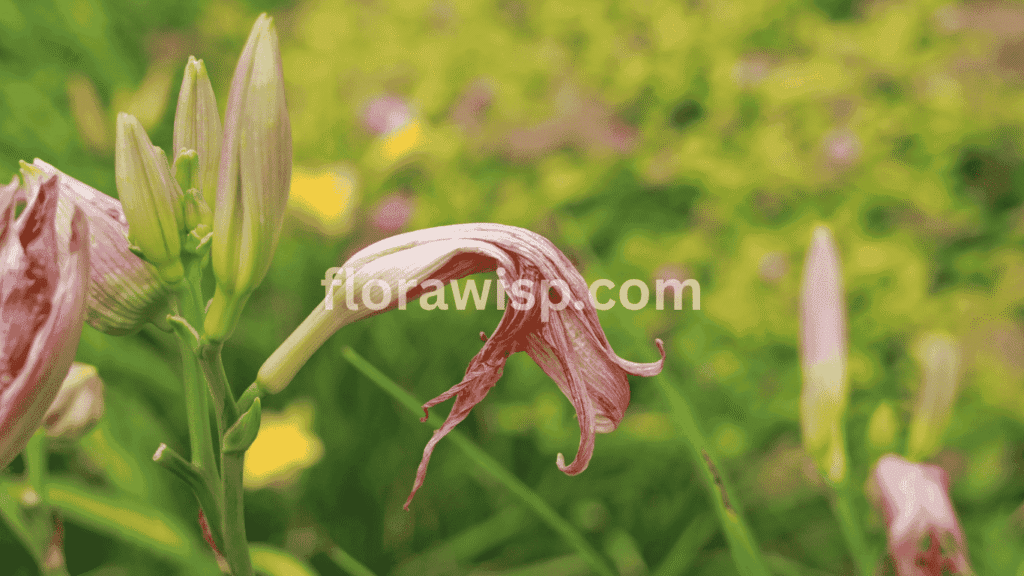
Preparing for Dormancy
By late fall, lilies start sending signals of yellowing leaves, slower growth. For overwintering canna lilies in pots, I trim the foliage back to 3 inches and carefully lift the rhizomes. After gently brushing off the soil, I store them in dry peat moss in a paper bag, tucked away in a cool basement.
The same approach works wonders for calla lilies. If the bulbs remain healthy and firm, they’ll perform even better next season.
Winter Care: Don’t Let the Cold Win
Some lilies, like lilies of the valley in pots, don’t require digging up but do benefit from a winter strategy. I cut back on watering during dormancy and insulated the pots with straw mulch. Placing them against the southern wall of my home, where they catch a bit of warmth, keeps them from freezing solid.
Come spring, I resume watering slowly to wake them up and without fail, they return.
Tip from My Garden: Terracotta pots work beautifully for peace lilies due to their breathability, but I prefer double-walled, insulated containers for overwintering lilies in a pot outdoors. The added protection helps maintain consistent root temperature through frost spells.
Common Issues with Lilies in a Pot: How I Fix Them
Growing lilies in a pot has been one of the most rewarding parts of my gardening journey. But these elegant bloomers do come with their own set of challenges. Here’s what I’ve learned over the years and how I tackle the most common problems.
1. Yellowing Leaves: A Drainage Dilemma
One of the first signs something is off? Yellowing foliage. This is usually a red flag for overwatering or compact, poorly draining soil. I made this mistake early on with my Oriental lilies. Now, I always use a lightweight mix enriched with perlite to ensure excess water drains quickly and roots stay healthy.
2. Pest Trouble: Spider Mites and Aphids
When growing lilies in a pot, you’ll want to check the undersides of leaves weekly especially in summer. Spider mites thrive in dry conditions, and aphids can swarm overnight. I treat my pots regularly with neem oil and use a mild insecticidal soap when infestations get stubborn.
3. Fungal Spots from Poor Airflow
Lilies love moisture but not trapped humidity. I learned this the hard way after seeing brown spots spread fast during a rainy spring. Now, I always space my pots apart and water early in the day to let leaves dry before dusk.
4. Stress in Store-Bought Potted Varieties
Lily of the valley potted plants or potted calla lilies from nurseries often arrive rootbound or stressed. I soak their containers briefly and repot into fresh, breathable soil, giving them a gentle start.
5. Incorrect Light Placement
A mistake I often see is placing lilies in a pot either in deep shade or harsh afternoon sun without checking the variety’s light needs. Some lilies love morning sun and partial afternoon shade; others thrive in full sun. Observing your planting site for 2–3 days helps avoid legginess or leaf burn.
My Advice
Don’t be discouraged if your first season doesn’t go as planned. Keep a close eye on watering, sunlight, and airflow and your lilies in a pot will flourish over time.
FAQs
Q. How long do potted calla lilies last?
Potted calla lilies typically last 8 to 12 weeks indoors when given proper care. In my experience, consistent watering, bright indirect light, and monthly feeding can stretch their bloom life beautifully. After flowering, the leaves stay attractive for several more weeks. Once they yellow, letting the plant enter dormancy this rest period helps the bulb regenerate. With this cycle, I’ve enjoyed the same potted calla lily bulbs for up to 3 years by replanting them each spring.
Q. Can I plant a potted calla lily outside?
Yes, you can safely transplant a potted calla lily outdoors once all risk of frost is gone. I usually do this in early spring when nighttime temperatures consistently stay above 50°F. In USDA Zones 8–10, callas grow well in garden beds with humus-rich, well-drained soil. They prefer partial sun and thrive with regular watering. In cooler zones, you’ll need to dig up and store the rhizomes before winter sets in to reuse them the next year.
Q. How to care for potted calla lilies?
To care for potted calla lilies, water moderately, keep them in bright, indirect light, and fertilize every 3–4 weeks during active growth. I’ve found that overwatering is the most common issue so ensure the pot has good drainage. Rotate the pot weekly for even growth and snip off faded blooms to encourage new ones. Indoors, they do well near east-facing windows. When I follow this simple routine, my calla lilies bloom consistently for 10–12 weeks.
Q. What to plant with calla lilies in pots?
Calla lilies pair beautifully with companion plants that like similar moisture and light. I often combine them with coleus, sweet potato vines, dusty miller, or trailing ivy. These add texture and color contrast while allowing callas to stand tall and elegant. Just be sure all plants in the container share the same watering and light needs. In my experience, this combo not only boosts visual impact but also promotes healthier, pest-resistant containers.
Q. How to grow a calla lily in a pot?
To grow a calla lily in a pot, start with a 10–12 inch wide container and use a rich, loose potting mix. Plant the rhizome 3 inches deep with the eye facing up. Water after planting, then keep soil lightly moist not soggy. I place mine in filtered sunlight (east or south-facing window) and see sprouts in 2–3 weeks. With warmth and steady care, they bloom within 60 days. This method works great for beginners and seasoned gardeners alike.
Conclusion
Growing lilies in a pot has completely changed how I think about gardening. Whether you live in an apartment or manage a large yard, potted lilies offer control, mobility, and beauty that lasts season after season.
Start small, pick your favorite lily, the right pot, and quality soil. With the steps shared above, you’ll not only see better blooms, but you’ll enjoy the process along the way.
Let your porch, patio, or balcony bloom with the grace of lilies. It’s simpler than you think and more rewarding than you can imagine.
References
Homes & Gardens – How to grow lilies in pots
The Spruce – Growing fragrant lilies with deep planting
Southern Living – Calla lily care, light, hardiness zones
Gardener, M.Sc. Horticulture
Elara Bennet is a gardening writer from Austin, TX, passionate about sustainable lawns and blooms. Read full bio →